How To Heat Press A Hat: Everything You Need To Learn!
Many people like to wear hats because these clothes can add color and elegance to your appearance.When walking under the scorching sun, the hat can also protect the scalp and face, preventing dehydration and heat stroke.
Therefore, if you are in the business of making hats, you should make your brand very colorful and elegant by embossing designs on it.
There are many things that can be pressed on the hat with a hot press.It can be an image, a logo, or any artwork that looks attractive.All you have to do is decide what to use as a design and heat it on the hat.
The question now is how to heat-press the design on the hat.Well, keep reading to learn about the simple process of adding heat transfer vinyl to the hat.
The first thing you should do is to collect the following materials that will help you in your work:
① Flocked Heat Transfer Vinyl
② Heat transfer (Teflon coat)
③ Heat tape
④ Rubber band
⑤ Thick fabric or oven mitts
⑥ Cotton hat
Step 1: Determine the design
Before hot pressing any design on the hat, you must first decide what to use.The next step is where the design appears on the hat.
Some people who want to make a unique hat sometimes decide to use a different design for each part of the hat, such as the back, the sides or even the front.The only thing is to make sure the design is the right size and cut on your heat transfer vinyl.
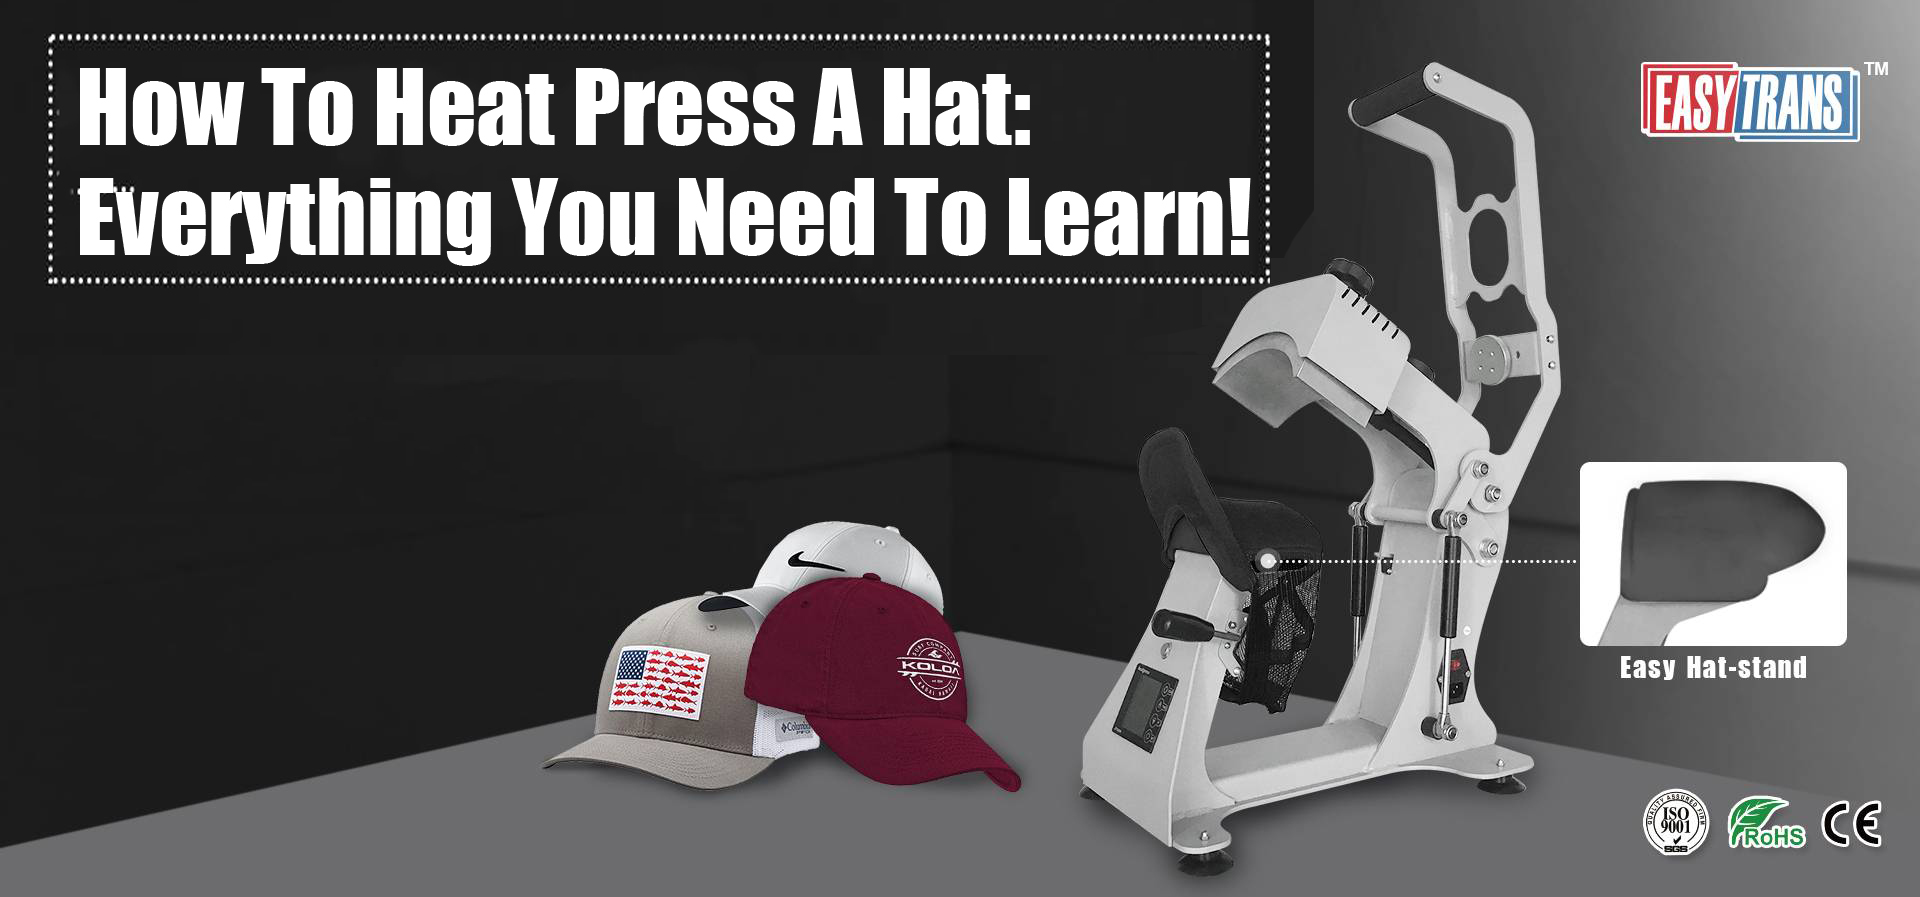
Step 2: Prepare the machine
The second thing is to prepare the heat press.For this type of work, you should use a thicker machine to cover the seams easily.Don't forget your dedicated heating belt, because it can help you keep everything in place.
Step 3: Prepare the design
To prepare your design, you must first reduce the number of designs to be transferred to the hat.Then, place your design on the hat while using seams to keep it in the center.Now use tape to fix the artwork so that it is fixed in place without moving.
Step 4: Transfer Process
After completing the above steps, the next thing to start is the appropriate transfer.Just place the hat on the upper plate of the heat press for 15 - 60s.
Assuming that the design size you are transferring is larger than the normal size, repeat the same process on each side of the design so that it will come out well.
A good reason to start from the center is to make sure the image is in place, instead of moving left or right when you want to deal with the edges.Can you imagine a hat with a crooked design? I bet that no one will patronize it, causing you to lose money.
Now after successfully transferring the artwork or image on the hat, let it wait a few minutes so that the entire design will cool down.Remember, your work material is cold leather, that is, flocked vinyl.
So, don't rush to pull down the sheets.If you do this in a hurry, all your efforts will be in vain because the design will be torn.
After the design has cooled, begin to peel the paper very slowly and observe the appearance of the design.
If you find that any part is not tightly attached to the hat, quickly close the sheets and bring the hat back to the heat press.Correcting mistakes is better than doing half-baked work.
I know you may think that the process of hot pressing your favorite artwork or image on the hat is difficult.When you follow the simple steps above, you can continue to produce any number of products.
As for the materials, you can get them easily, no need to look for a heat press that is only suitable for hats.Ah! If you are trying this for the first time, I suggest practicing before the main work.
Pick a hat at random and try the whole process.Once completed, you can correct the errors before proceeding with the project.
Okay, I suggest you watch the following video: